Managing Your Calendar

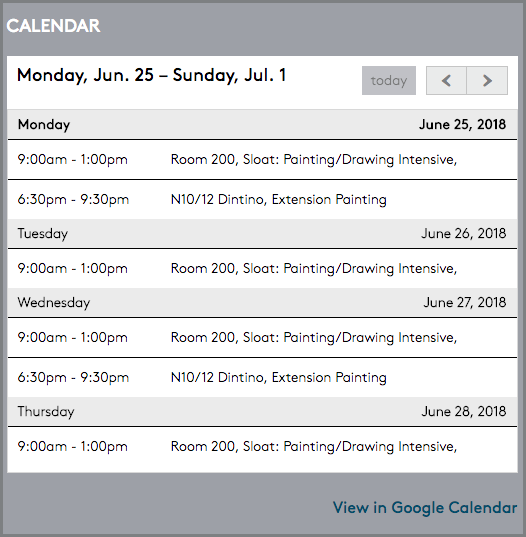
Each shop page can display an optional public calendar, showing hours for classes, events, workshops, etc.
The calendar shows one day at a time, pre-focused on the current date. A link at the bottom of the calendar widget will take visitors to a full-screen view.
Create Your Shop Calendar

The Shops calendar system pulls data out of a dedicated Google Calendar created and maintained by the Shop Manager.
To create a new calendar for your shop,
- Go to calendar.google.com
- Click the gear icon, then Settings from the resulting dropdown.
- Under Add calendar, click Create new calendar.
- Give your calendar a title, and click Create calendar.
- Once your calendar is created, it should appear under My calendars.
- Under Calendar settings, set Access permissions to Make available to public.
Events on your Google Calendar will appear on the calendar embedded in your shop page. To distinguish different types of events in your calendar, use the color-coding system in Google Calendars - event colors selected there will be preserved on your shop page!
Please do not use the Google Calendar to publish your shop's Open Hours; all-day events crowd the calendar and make it difficult to read.
Connect Your Calendar to Your Shop

- Go to calendar.google.com
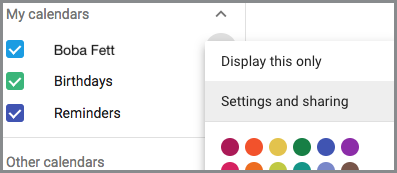
- Under My calendars, click the options button (three vertical dots) to the right of your Shop calendar.
- Click Settings and sharing.
- On the resulting page, scroll down to Integrate calendar.
- Locate Calendar ID, and copy the long string beneath (it should look a bit like a long email address).
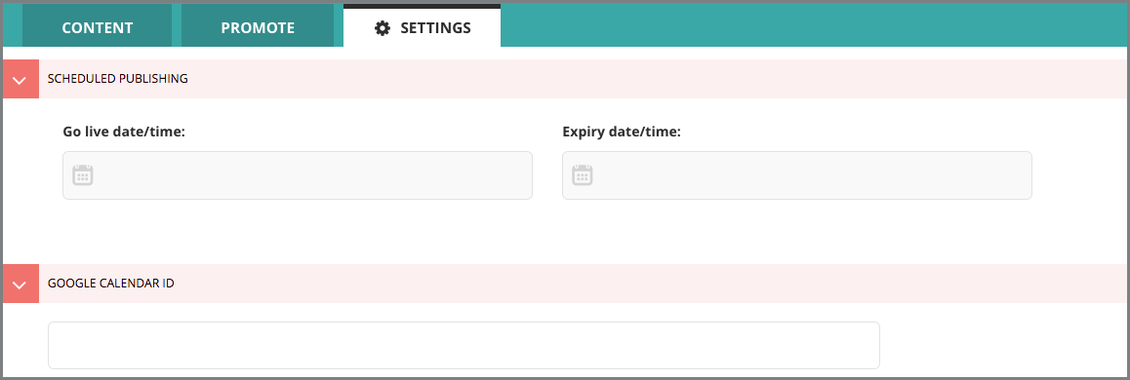
- Back in Wagtail, access the Settings tab in your Shop page editor.
- Paste the copied ID into the Google Calendar ID field.
- Click Save, and your calendar is connected! If you ever want to disable your shop calendar, just remove its ID from Wagtail.

