Create + Manage Event Pages
Creating and managing an event on Portal is similar to creating and managing a Basic Page. Events are essentially modified Basic Pages, and the start of the process is exactly the same.
Creating an Event
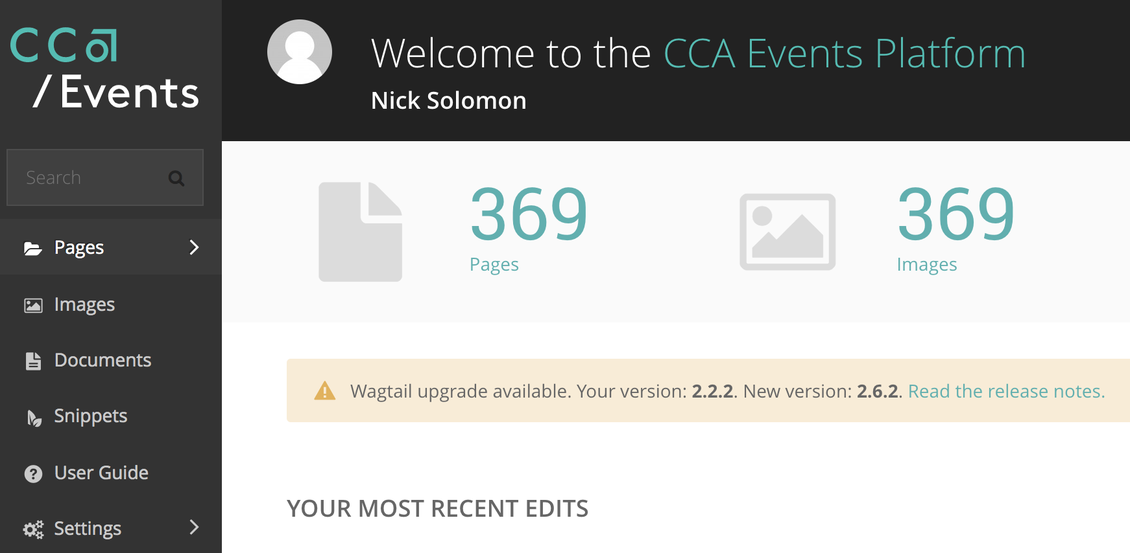
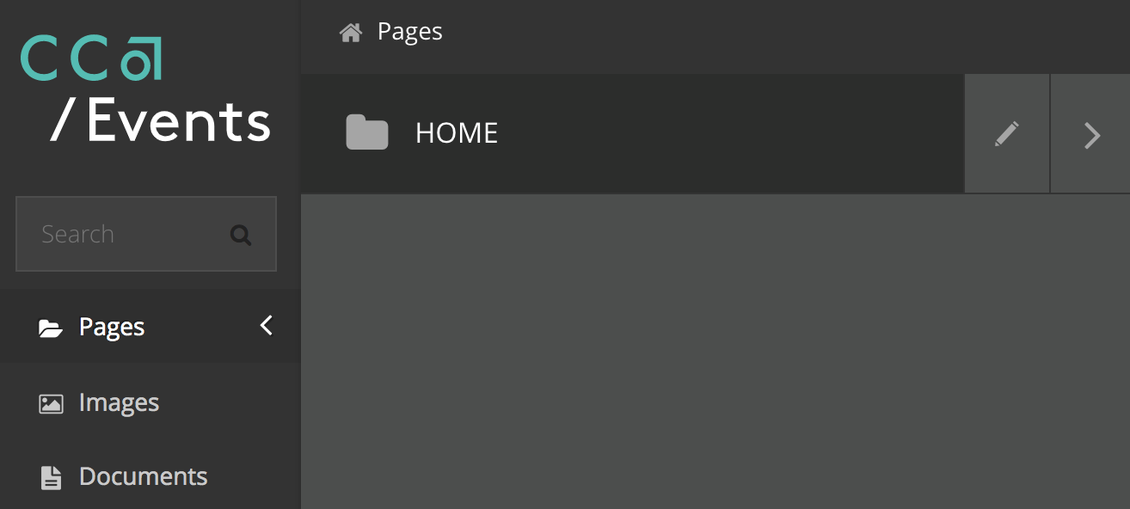
- Click Pages in the left-hand menu.

2. Click Home in the new menu that pops up.

3. Click Add Child Page at the top of the screen.

- Alternatively, to create an Event page underneath an existing Event Series, hover over the Event Series page listing, then click the Add Child Page button that appears (as depicted below).

4. Click one of the following:
- Click Event page if you wish to create a single event
- Click Event series page to create a series for related events (read more about the Event Series Template here)
- If you are adding a child page beneath an Event Series page, you will not receive this prompt. Instead, the editor for a new Event page will open automatically.

You should then be presented with a blank Event page template, ready for your information! We'll cover all of the fields you'll need to fill out a little later on.
For now, let's focus on saving, publishing, and (if need be) deleting your pages.
Saving
Once all your information is entered, click Save Draft at the bottom of the page. It’s a good idea to save your draft whenever you think about it, just in case things go wrong.
- If you’ve correctly entered all required information, you should get a nice green bar at the top of the page confirming a successful save.
- If you try to save your page while required info is missing:
- A red error bar appears at the top of the page, along with a badge that lists the number of fields that still require information.
- Scroll down the page and fix any errors to proceed.
- Click Save Draft again to save.

Preview Your Page
To the right of the Save Draft button in Wagtail, you'll see a Preview button. Clicking this button opens a new browser tab with a static preview of your current draft.
- Because this is a static preview, you'll see what the page looks like, but it doesn't have full functionality, so certain hyperlinks will not work as they will on Portal.

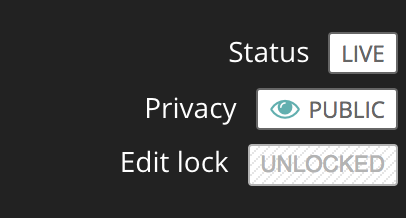
After your page has been published, the Live button in the top-right corner of your Wagtail editor (beside Status) shows a preview of the live page.
- Since the Live button just generates a preview, keep in mind that the preview URL is not the same as the actual Event page.
- If you make changes to a live page in draft, you can preview those changes with the Preview button instead.
Publishing and Unpublishing
Once you’re ready to publish, simply click the down arrow next to Save Draft. This opens a menu of additional posting options. Click Publish to add the event to the Portal Events Calendar. You’re done!
- If your event is part of a series, you must republish the Event Series page in order for the new event to display on the series page in Portal.

If the event needs to come down temporarily or to be corrected, please use Unpublish instead of Delete.
- Unpublish returns the page to a draft state, which you can edit and change freely without worry of viewers seeing whatever it is you need to correct.
- When you’re ready to republish, follow the process above to save and publish your edited event.
- NOTE: Please do not use the Submit for Moderation button.
- This bumps your event into a queue that isn’t currently being monitored and may delay the publication of your event.
- We’re currently looking into removing it, so for now, please just ignore it.
Deleting
As noted above, we strongly suggest unpublishing Event pages instead of fully deleting them, as you cannot recover deleted content from Wagtail.
But if you have any stray drafts or extra pages you want to get rid of, feel free to use the Delete option. You can get to it by using the same process described above -- it’s part of the publication options menu, alongside Publish.
Up Next:
Get to know the ingredients for an Event page.

