Printing via Laptop (macOS) to Lab Printers
Please note: You must be on campus and connected to the CCA network for the Papercut installs, printer configuration and printing to work.
Large Format Plotters are not available for laptop printing. For plotter printing please use the lab workstations.
PaperCut Client Installation
1 Add the PaperCut Software to your laptop computer
PaperCut Client macOS Papercut macOS Client
*You must be on campus and connected to the CCA network for the Papercut and Print Deploy configuration to work.
2 Locate installer in Downloads folder
Locate: CCA-Install-Papercut-v21-Signed-FA24.pkg
Double-Click the pkg file to install, and click continue button.
Note: If a warning message appears preventing you from opening the file then try this alternate method. Hold the control key while clicking on installer, select Open.

3 Make sure the "PCClient" is open on your desktop
Login with your CCA credentials, click OK
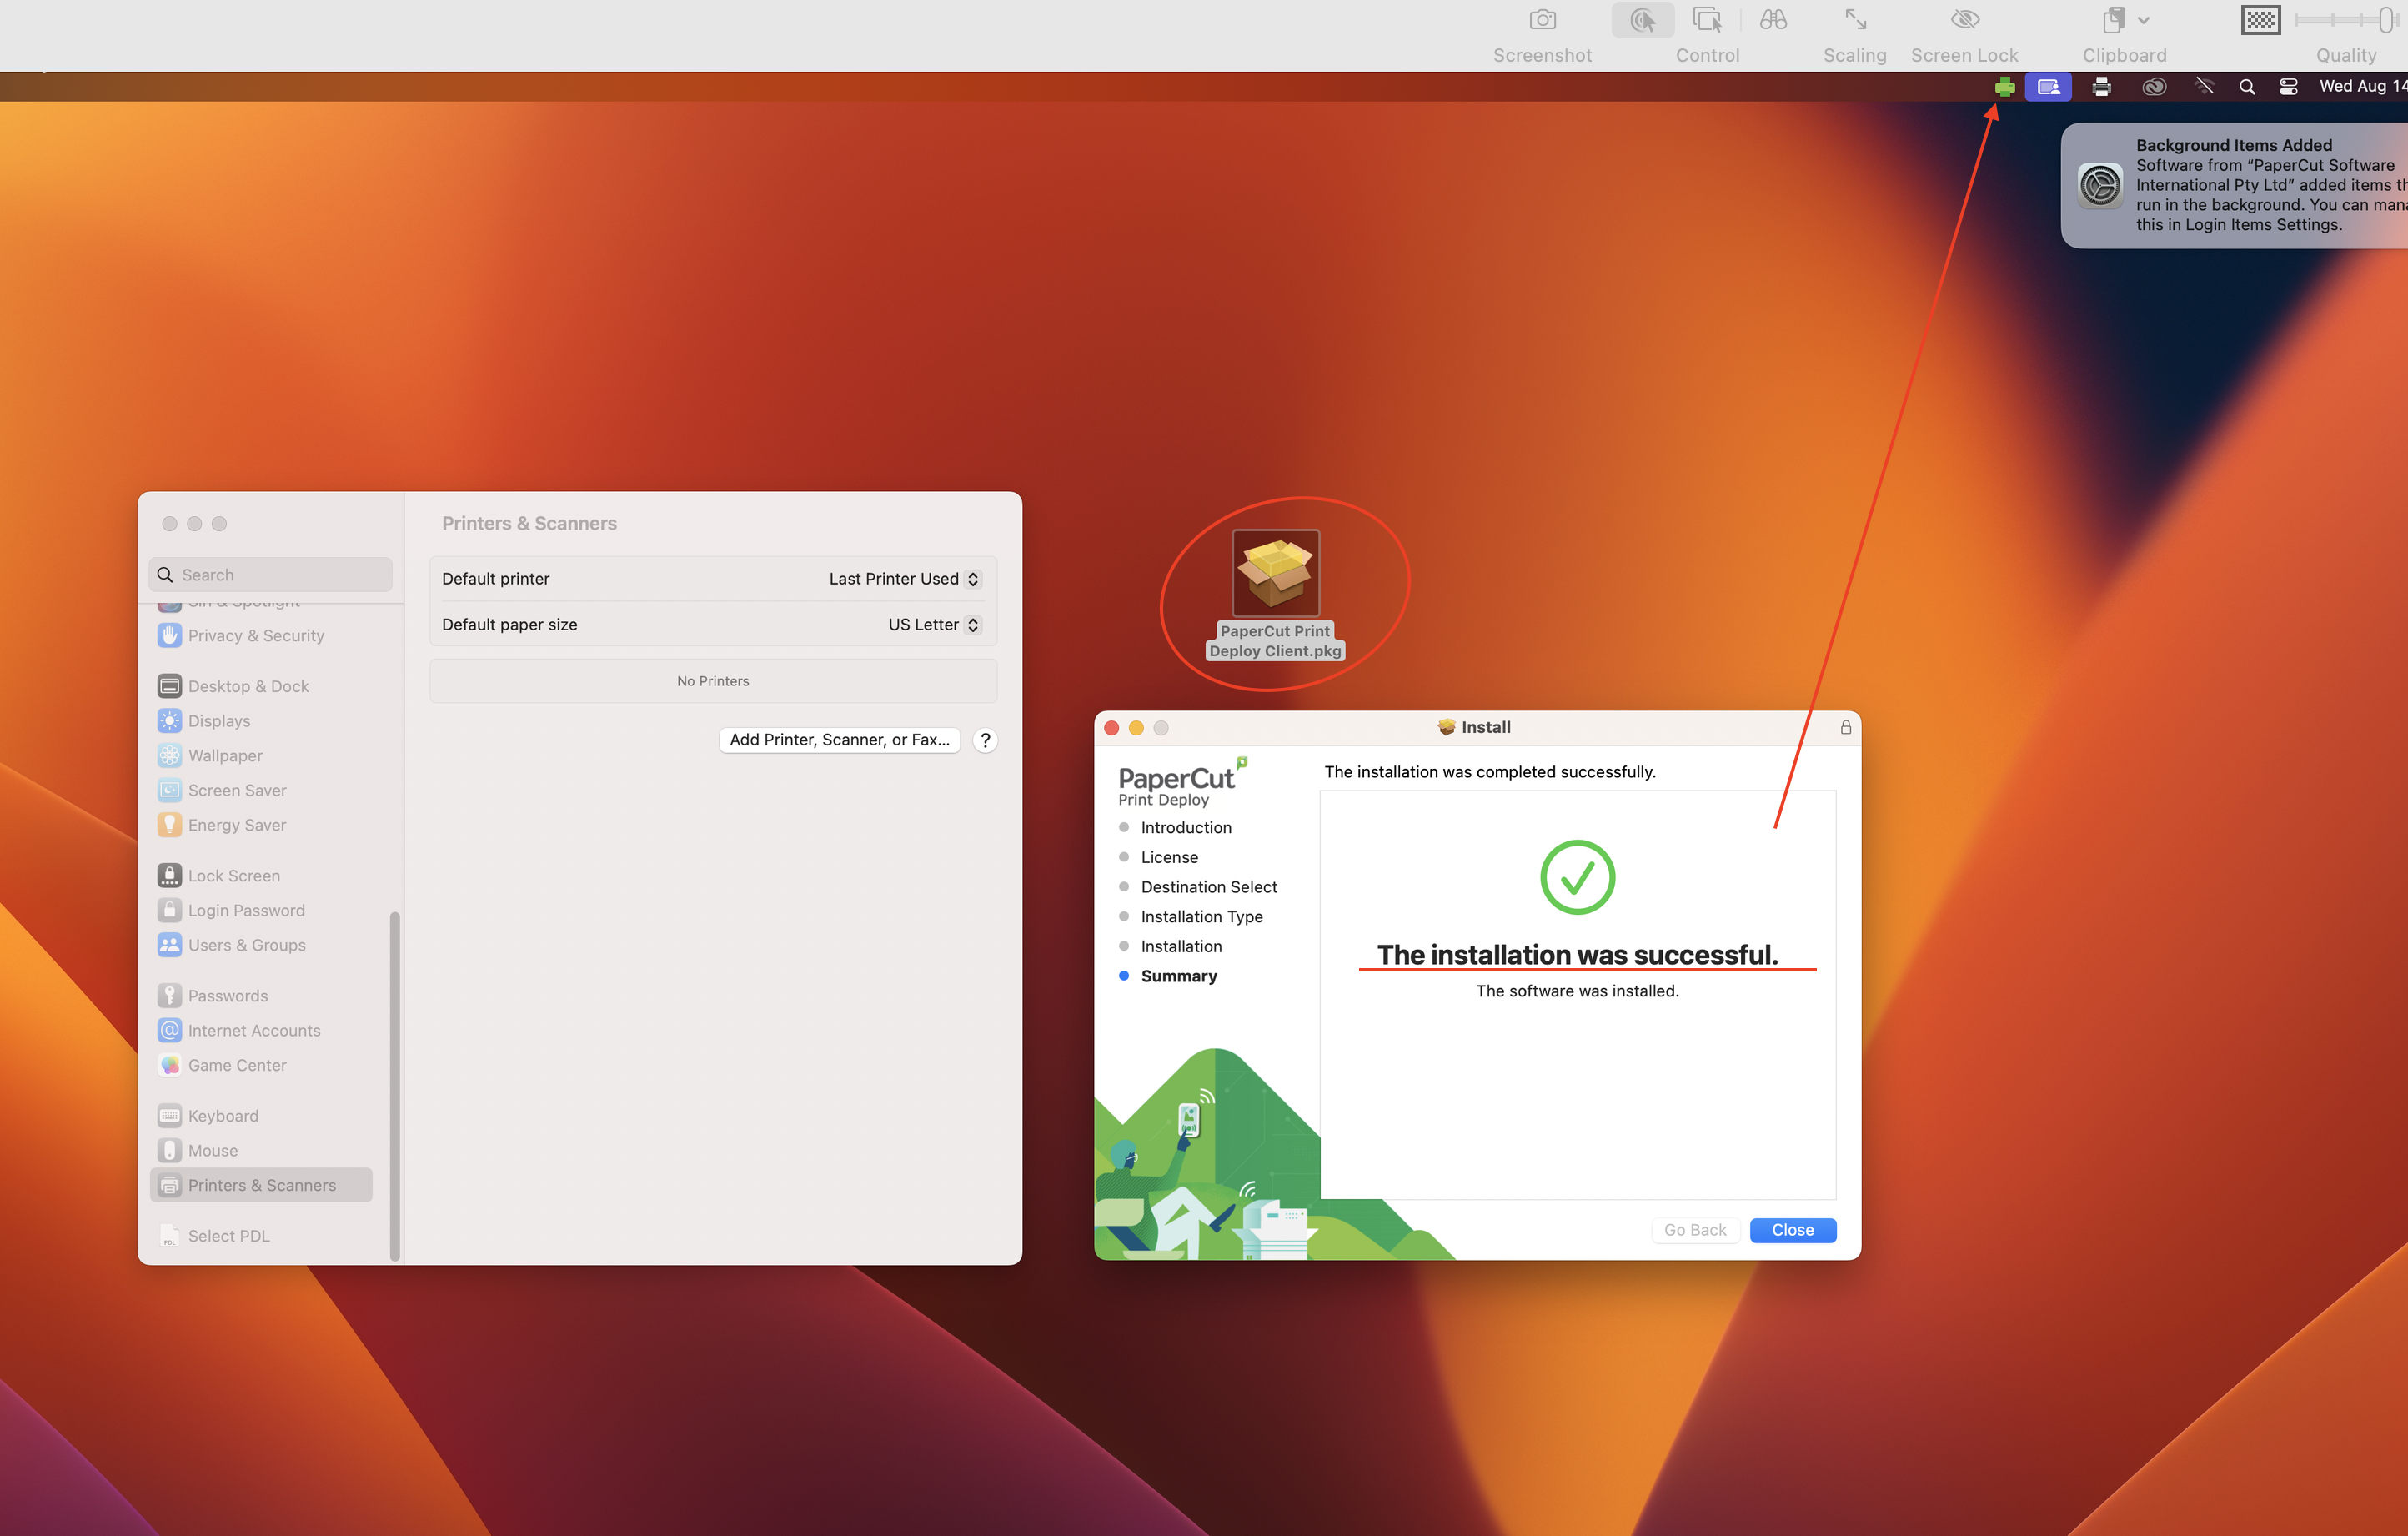
4 Install Print Deploy
Print Deploy Client macOS Print Deploy Client macOS Installer
The installer will add an Print Deploy status menu icon in the macOS menu bar upper right.
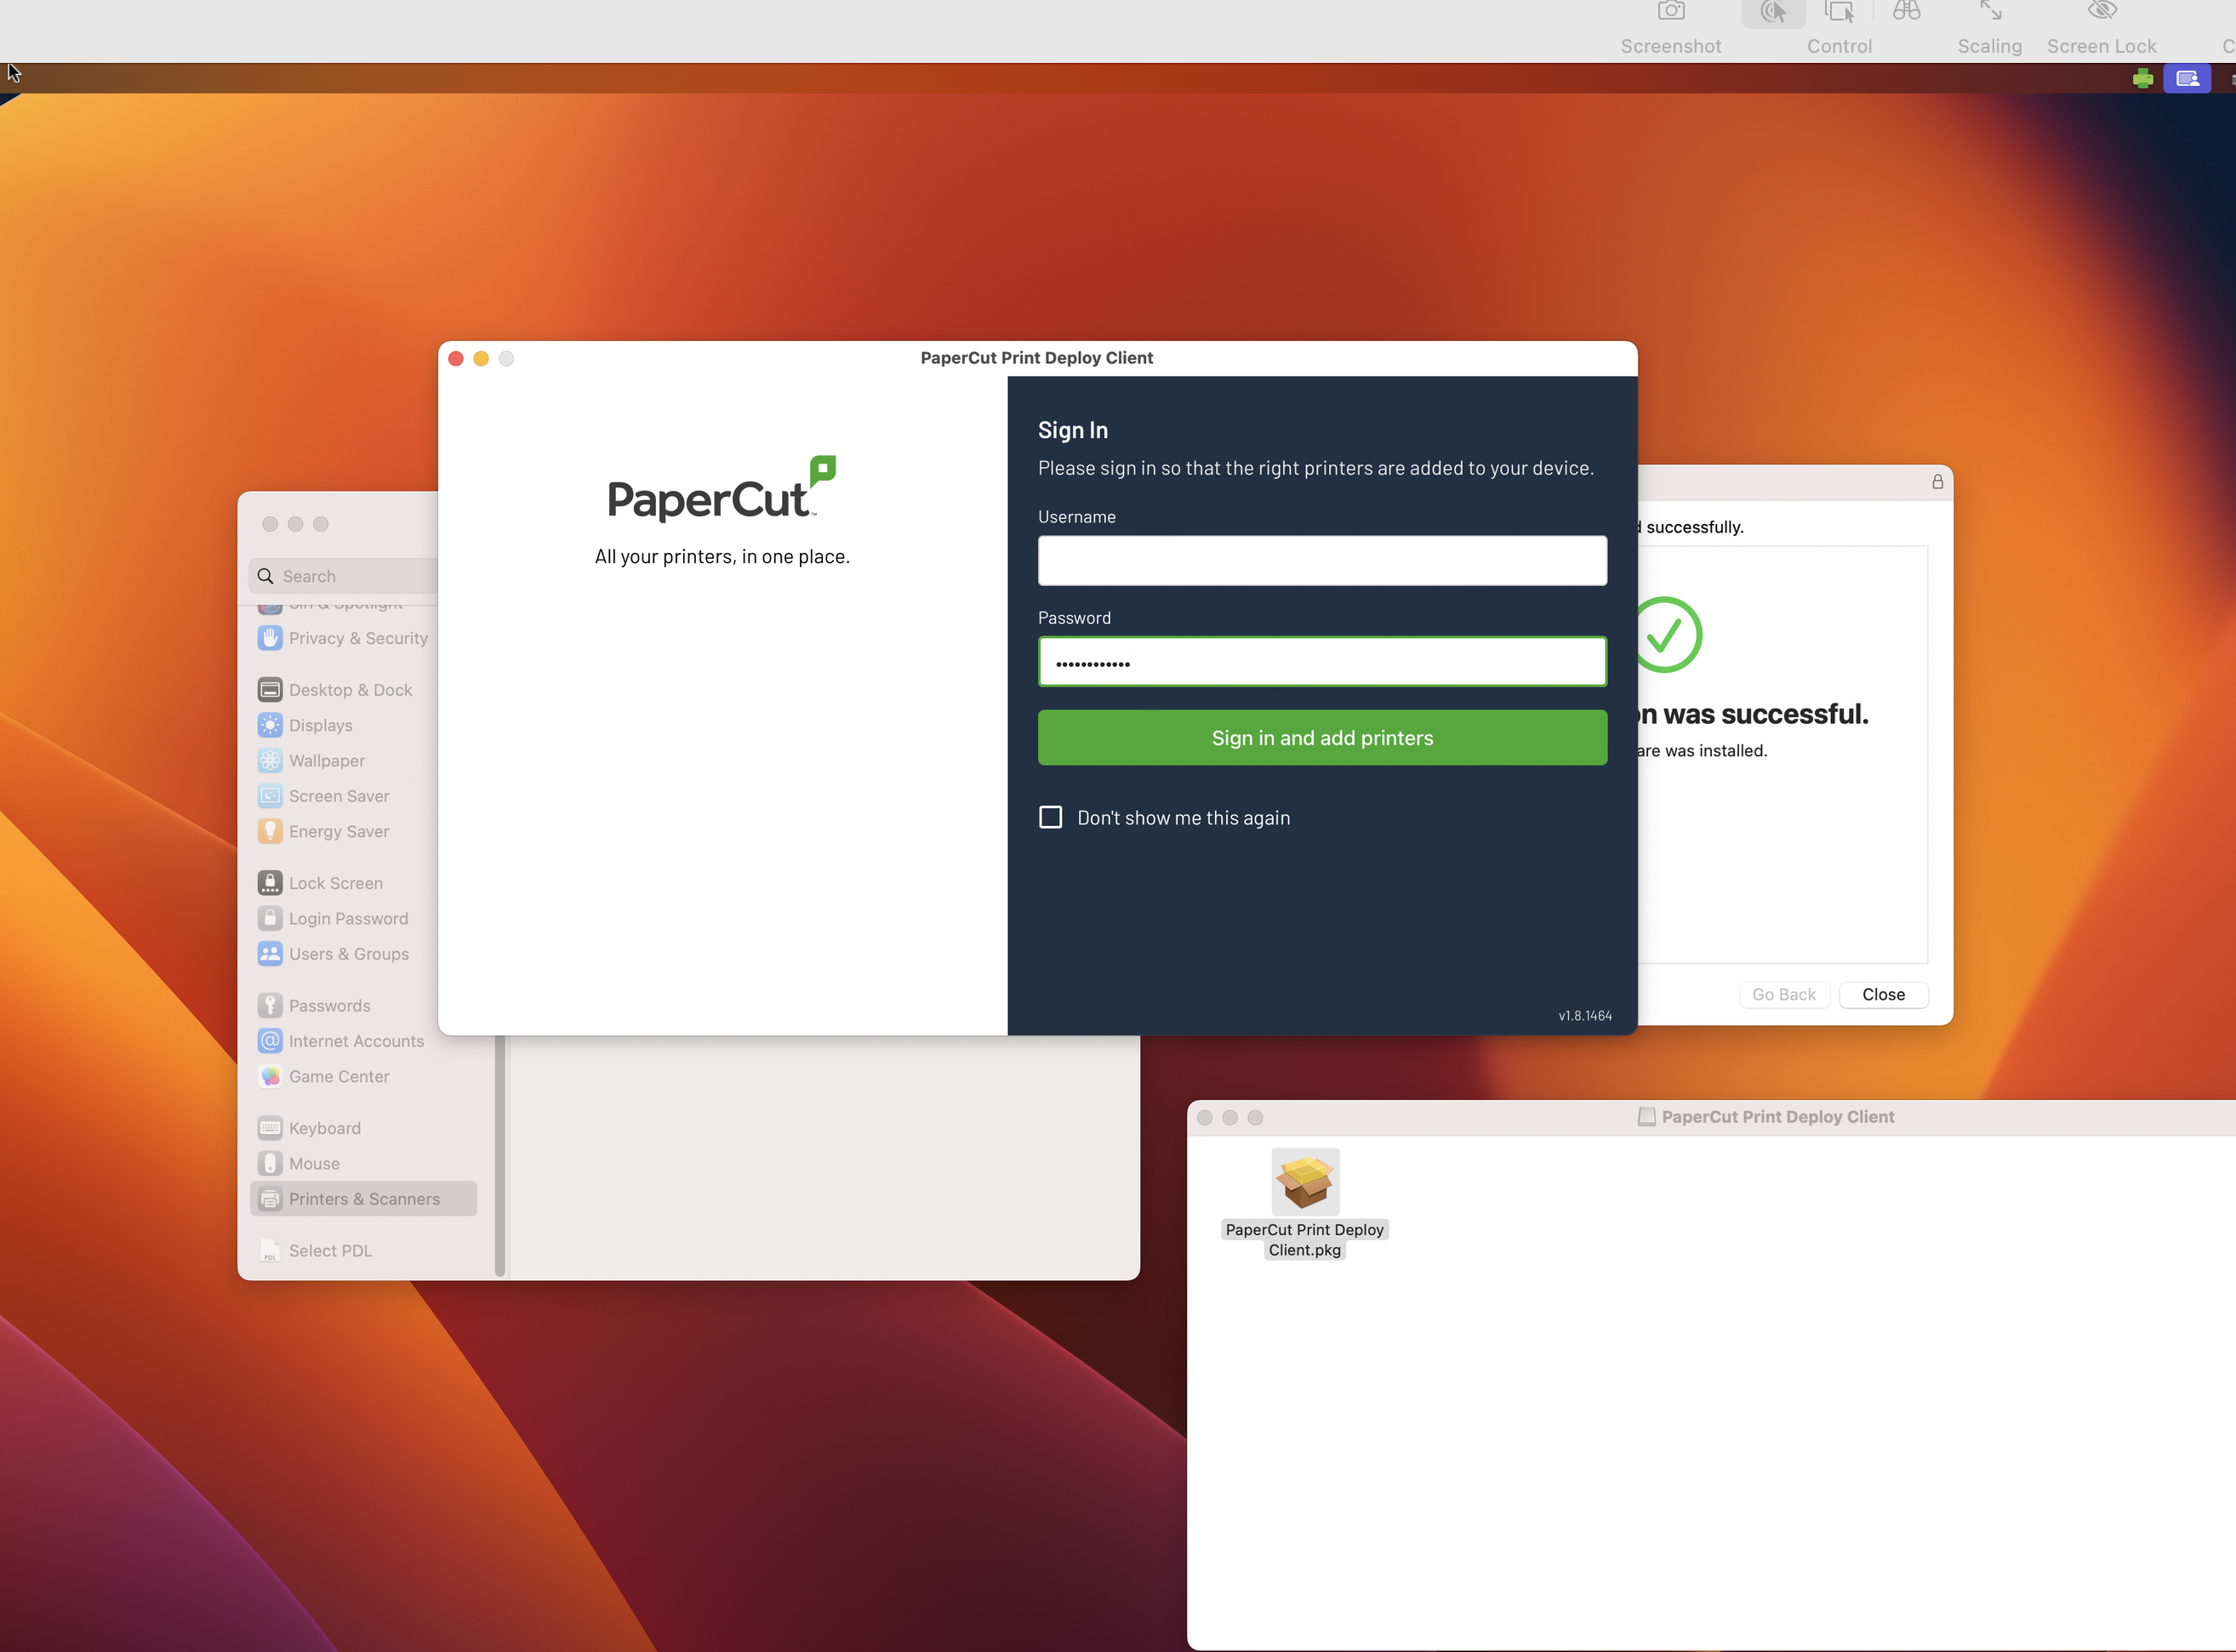
5 Login with Papercut Username and Password
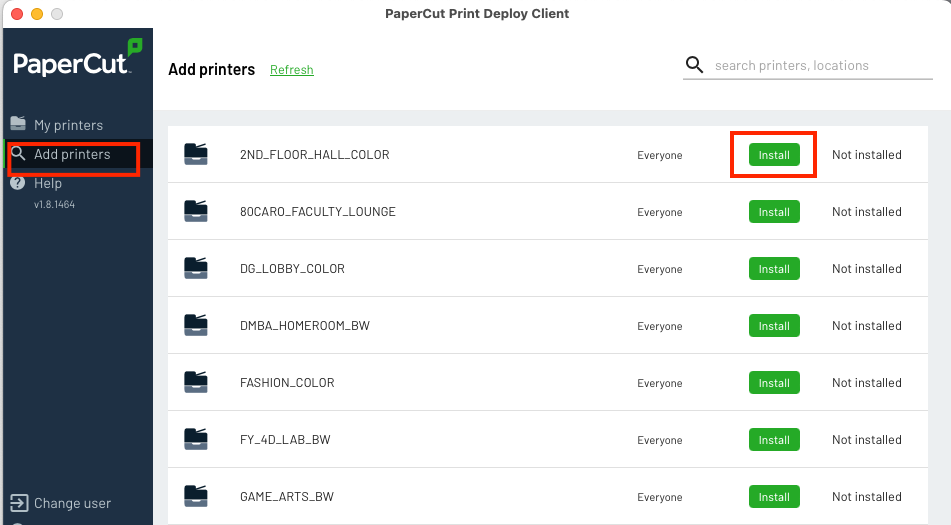
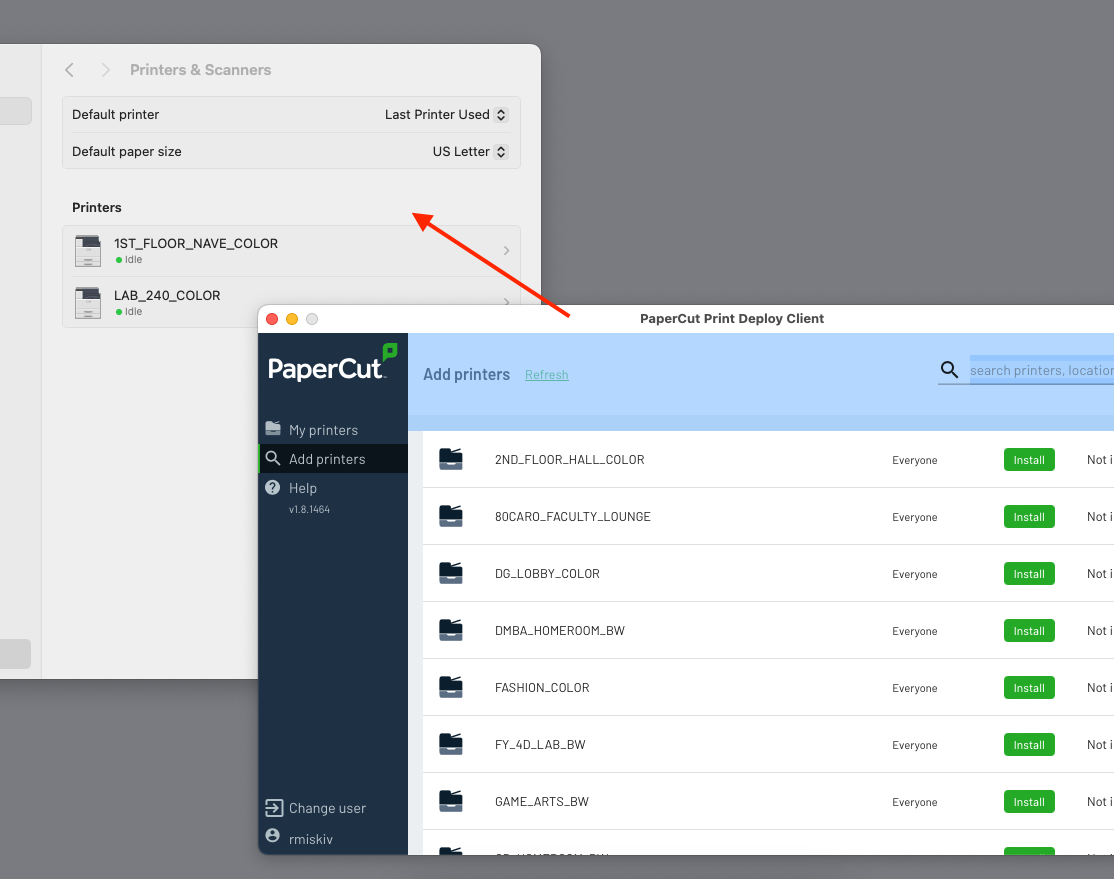
6 Select Printers to Install
Large Format Plotters are not available for laptop printing. For plotter printing please use the lab workstations.
7 Wait for Installation to Complete - May Take Several Minutes
Printers will be added to macOS System Settings in Printers Panel.
After completion, the Print Deploy Client pkg and dmg can be deleted from your laptop.
8 Adding More Printers
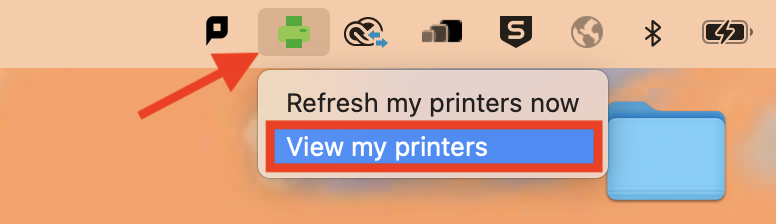
If you'd like to add more printers at a later time, you can go to the top right of your menu bar and click the green printer icon (the Print Deploy Client).
Click on it then click "View My Printers". Then, you may install any desired additional printers you'd like to add (Refer to Step 7).
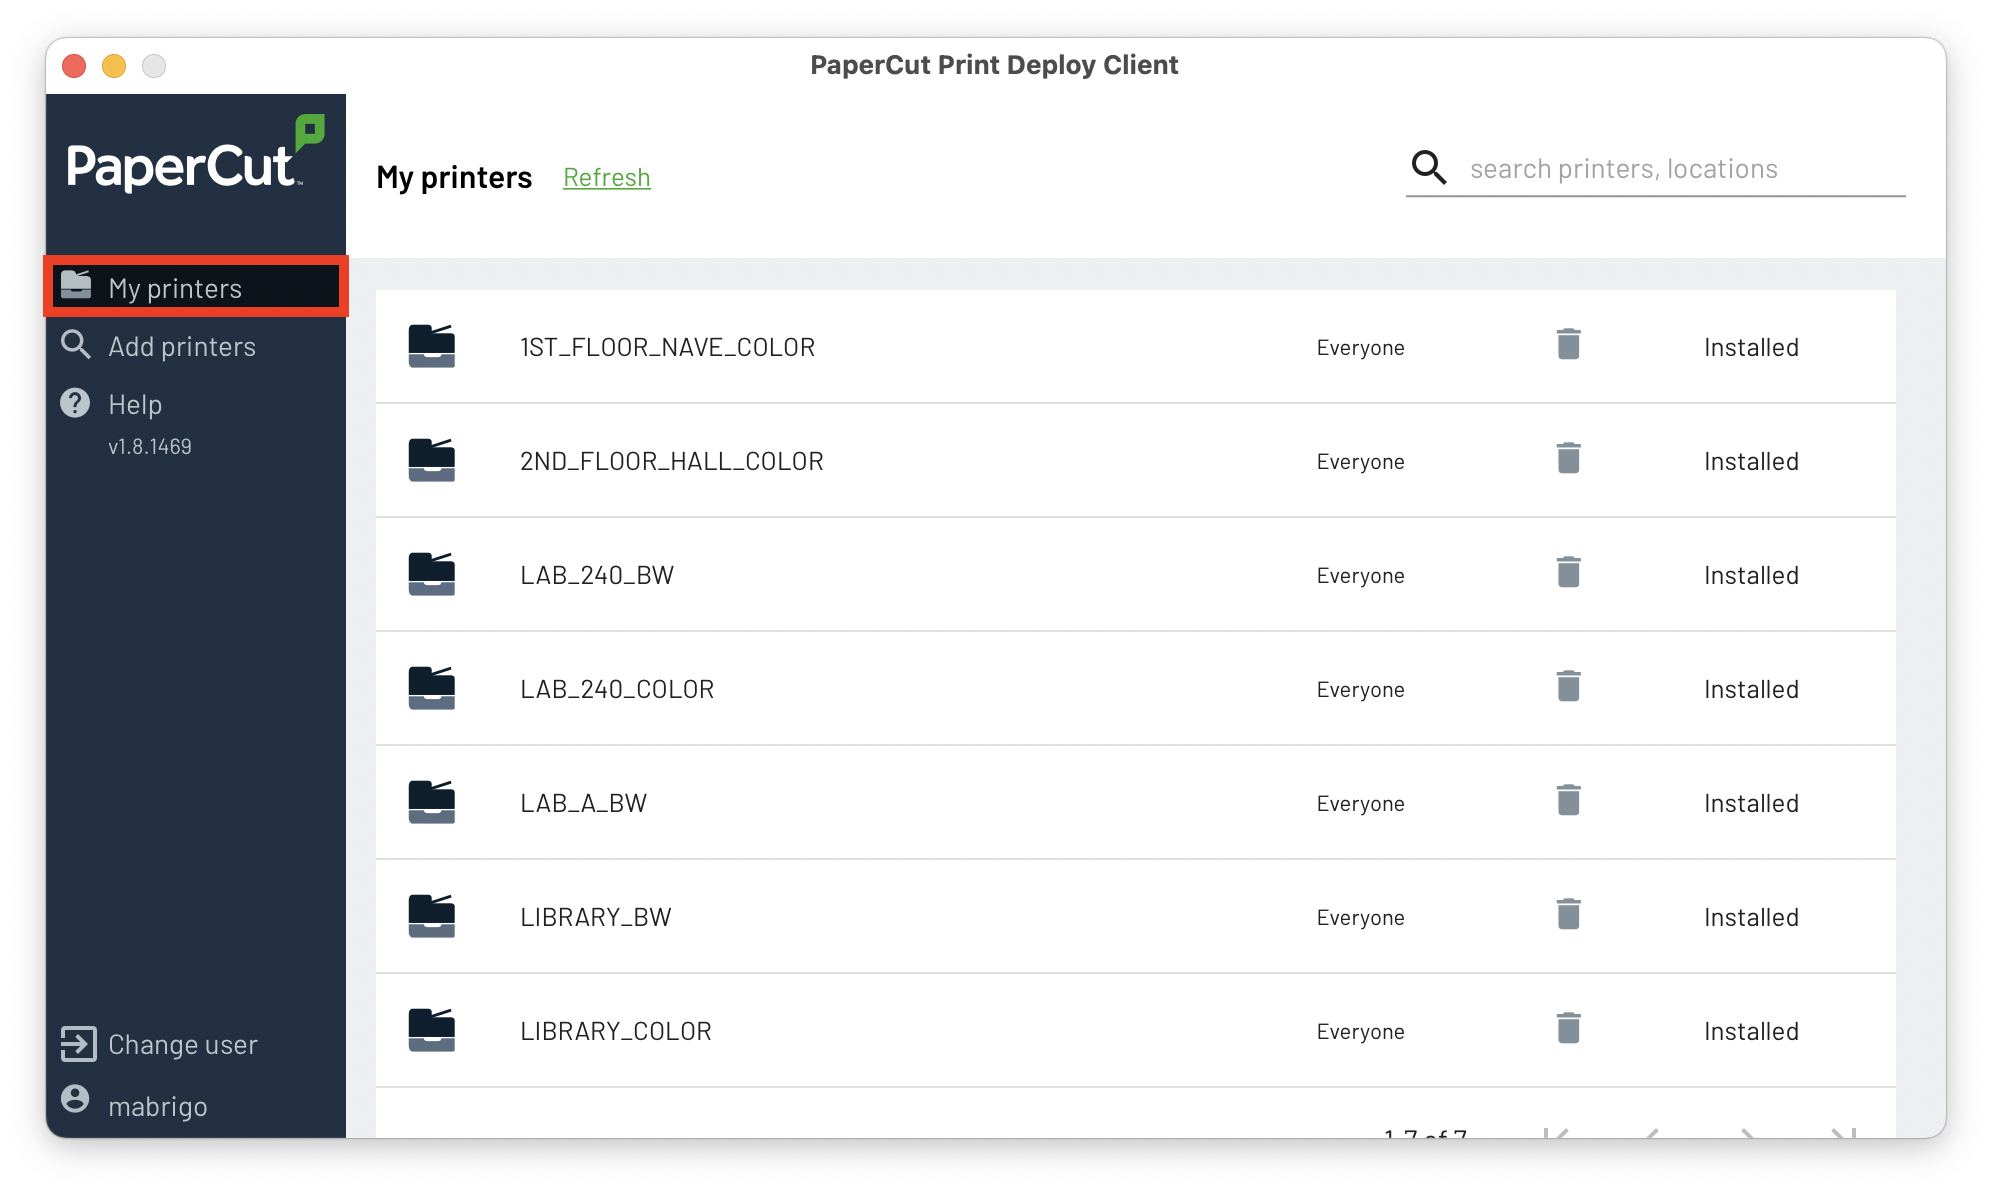
9 Review Downloaded Printers
This list will tell you what printers you currently have access to for printing.
Use the "Add Printers" option to see the list of printers available to install.
Use the trash can icon to remove any unnecessary printers.
Printing Instructions
1 For each print job, PaperCut window will launch
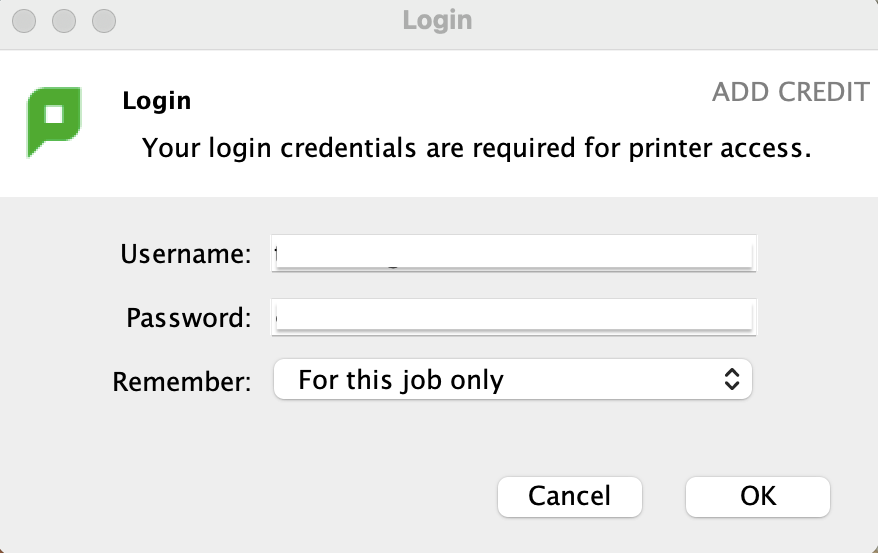
Login with your CCA credentials, click OK
2 PaperCut will ask you to confirm the price of your print job and selected printer
Confirm by clicking 'Print' then file will be sent to the printer

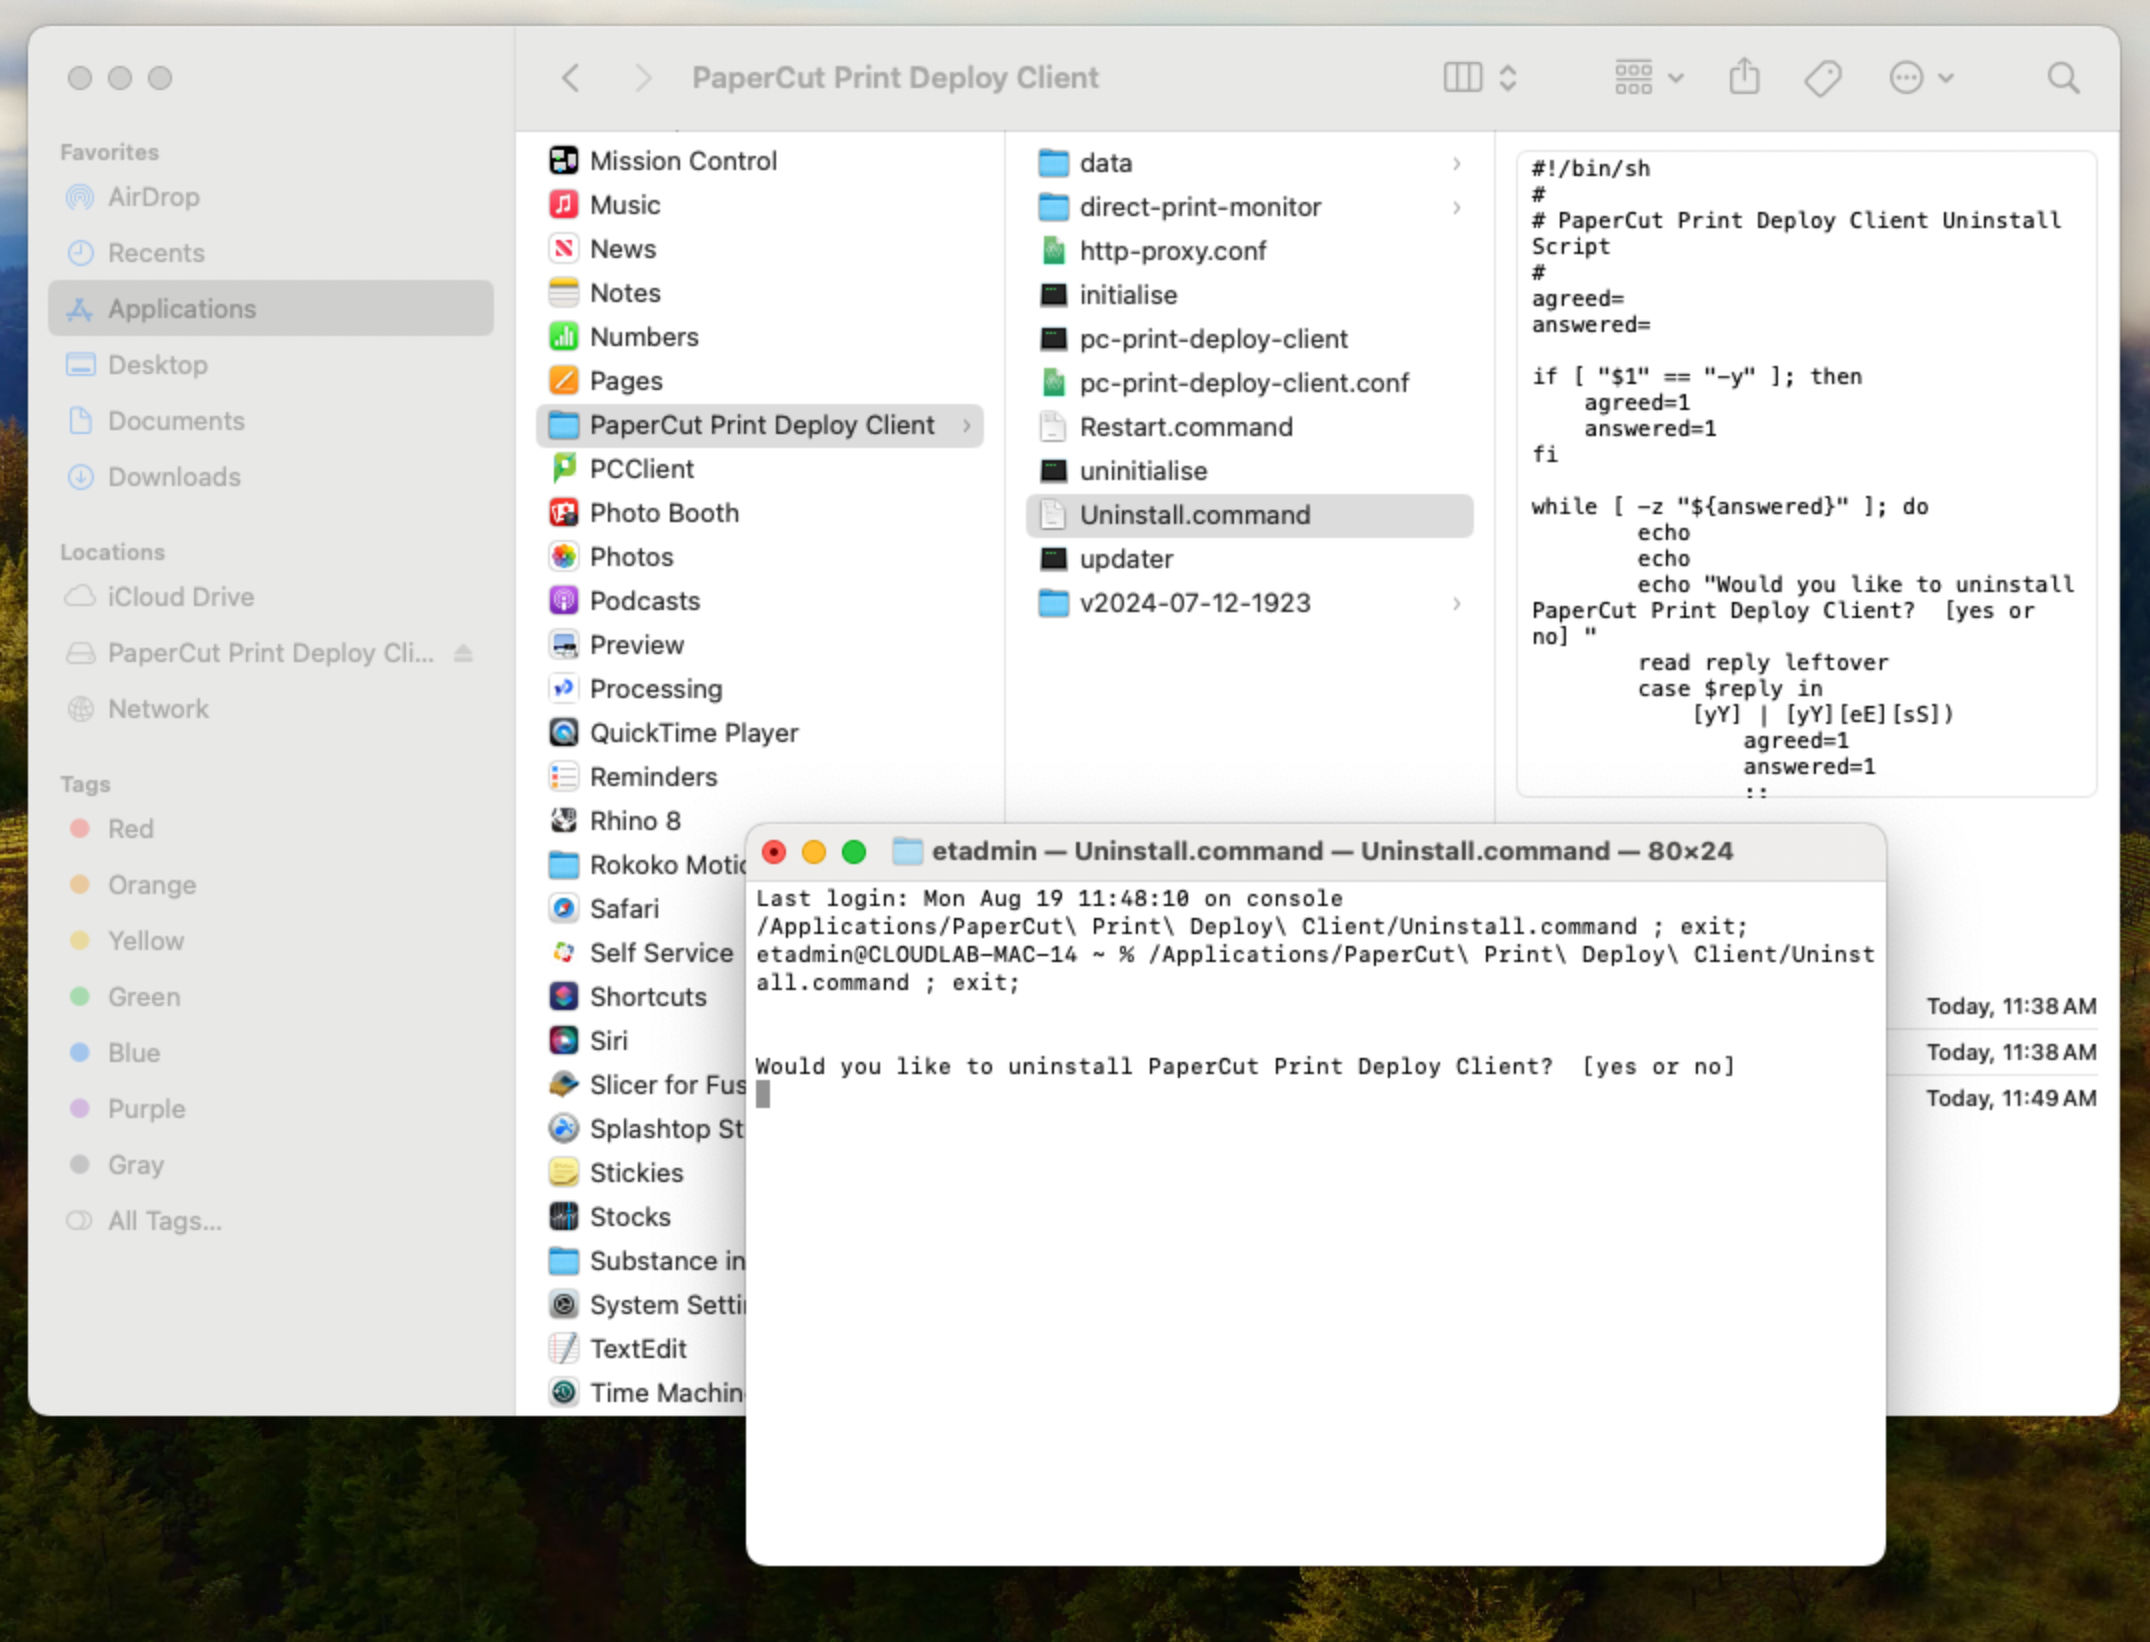
Uninstalling Print Deploy + Papercut Client
1 Run Uninstall Command
- Navigate to the Applications folder on your hard drive.
- Open the folder PaperCut Print Deploy Client
- Double click uninstall.command
- Enter "yes" when prompted.
The script will remove the PaperCut Print Deploy app.
/Applications/PaperCut\ Print\ Deploy\ Client/Uninstall.command
2 Uninstalling the PaperCut Software - PCClient App
Please follow the steps in this PaperCut webpage. If you need additional support to remove Papercut software please contact: helpdesk@cca.edu
Uninstalling PaperCut Software